Get gardening
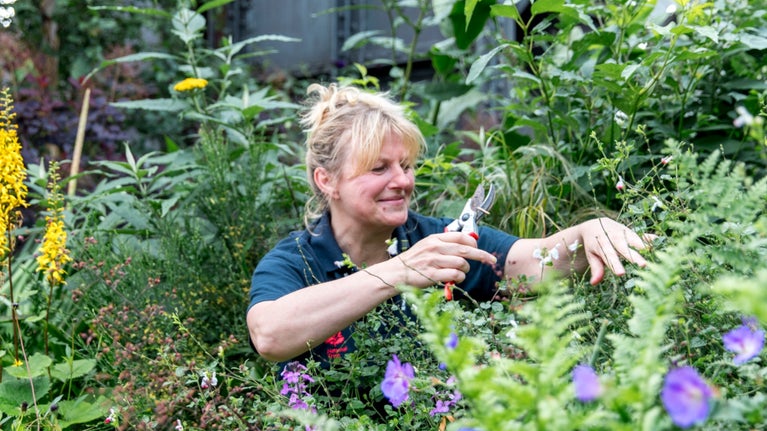
Our gardeners are on hand with ideas for your garden, plot or window box. From planting veg to tackling weeds, they’ve got all the important topics covered.

If you’re keen to avoid using plastic sponges at home, why not grow your own loofahs to use as kitchen sponges instead? Growing this totally natural alternative requires a little effort, but the stock of sponges from just one harvest will help you to keep your dishes clean for months. Find out how to grow loofah plants from seed and help reduce the impact of plastic on the environment.
It's important to get the right variety. The seeds you need are called Luffa cylindrica.
We recommend using a peat-free organic compost such as Fertile Fibre or Melcourt Sylvamix, but any good peat-free seed or multipurpose compost will do.
You’ll need some 9cm (or similarly sized) pots and some larger ones for potting up later in the year. The final pot should be at least as big as a bucket.
You can use wooden lolly sticks as plant labels or make some reusable ones from cut-up margarine tubs or yoghurt pots – just use a dry-wipe marker.
Loofah seeds need a pretty high temperature – 25 degrees Celsius – for good germination so we recommend a small, heated propagator box or a heated mat. A windowsill or an unheated greenhouse is unlikely to be warm enough alone.
If you don’t have a propagator box, you can try to maximise the temperature on a sunny windowsill in a nice warm room by making your own mini propagator using two empty plastic fruit punnets. Tape them together and cover the holes up for extra warmth and to keep moisture in.
You’ll need to keep the compost moist but not saturated. We recommend using a fine rose on the end of the watering can to avoid overwatering.
Loofah seeds don’t germinate quite as easily as cucumbers or courgettes, so sow a few extra to be sure to have enough plants. Soaking the seeds for a few hours in lukewarm water ahead of sowing can help to encourage better germination.
Fill up your pots loosely with compost and tap down lightly once or twice. Hold the loofah seed between your finger and thumb and push it sideways down into the loose compost, about 1.5cm deep. Tap the pot again to settle the soil over the hole. Label your pot to avoid mix-ups later.
You’ll then need to put your pots into a heated propagator box at 25 degrees Celsius for the best chance of success. If you don’t have a propagator, see the instructions above to make a homemade version and place it on your warmest, sunniest windowsill.
Keep the compost moist but avoid overwatering, as this can cause the seeds to rot. Try to resist the temptation to keep taking the lid off for a peep, as this will let the built-up moisture out of the propagator. Germination won’t take long at 25 degrees, so check in a week but they may take two or even three weeks at a cooler temperature. Too cool a temperature and the seed may rot rather than germinate, so the warmth is very important.

Once the roots are starting to show through the holes at the base of the pot it’s time to pot them up into bucket-size pots. If your indoor space is limited, you could use smaller ones and increase the size as the plant grows.
Now your loofahs are potted up you need to put in some supports for them to grow up. This could be a wigwam of bamboo canes, hazel sticks or even lengths of stout string or thin rope strung from the roof of the greenhouse and dropped down, to wind the plants onto as they grow. The vines grow vigorously so the supports need to be quite strong.
The loofah needs a long growing season. There are a few things you can do to help with fruit ripening.
Keep the compost moist but not saturated. We recommend a good deep soak to the root zone at the same time each day to keep the compost moist. Don’t overwater – loofahs don’t need as much water as courgettes or marrows.
To discourage mildew on the leaves, water your loofahs in the morning. If mildew is a problem, cut off and bin any affected leaves. Ventilate the greenhouse on hot days and warm nights but as summer goes on into autumn, shut the greenhouse at night and on cooler days. Loofahs like it warm.
As the fruits begin to form, keep an eye on how many there are on each plant. Once three of four per plant have grown to 15–20cm in length, remove any other young fruits that form. This will focus the plant's energy into ripening those first fruits. Train in the new growth regularly so that you’re getting plenty of light and air to the fruits.
Keep an eye out for pests and disease. Aphids can be squished by hand or blasted off with a hose, or you can wait for ladybirds to arrive and eat them for you.

By November, the fruits – which have felt spongy and squashy – should start to firm up as the fibres become stronger inside and the colour of the skin will begin to change from green to yellow. As the seeds begin to form, the firm loofahs will become softer again and the skin will begin to brown. Loofahs can be harvested from the yellowing stage onwards but they'll be easier to process if you can mature them to the later stage. They'll also contain ripe seeds for the following year.
Cut off the fruit, then gently squeeze the skin all over, becoming firmer until you can feel it separating from the fibres inside. The skin needs to feel loose all over the whole fruit so that you don’t tear the fibres when you pull the skin off, so keep squeezing until you’re sure it’s separated from the fibres.
Next, cut off the top and the bottom few centimetres of the loofah. Then get your finger or thumb under the skin and start to gently separate the skin from the fibres by sliding your finger between them.
Once the skin is loose, it’s time to rinse out the seeds and any remaining flesh, to leave the fibrous skeleton behind. Put the loofah in a bowl of warm water and squeeze all over. The loofah will become more flexible as it takes up the water and it will get easier to squeeze and pop the seeds out of one end. Black, plump seeds can be dried and saved for next year. Pale or thin seeds can be discarded.
Once the loofah skeleton is well rinsed you can hang it up to dry, then cut to your preferred size for washing up. The loofah ‘sponges’ last for ages and you can put them in the washing machine or dishwasher as required.

Our gardeners are on hand with ideas for your garden, plot or window box. From planting veg to tackling weeds, they’ve got all the important topics covered.
Find out how to get more out of your blooms this summer as our gardeners share their tips on how to garden during the warmest season.

Discover top tips on getting the most from your allotment or patch, and find out why growing your own fruit and vegetables is good for you in more ways than one.

Learn how to make your own rose arch from former Mottisfont head gardener Jonny Bass, plus an alternative for smaller gardens.

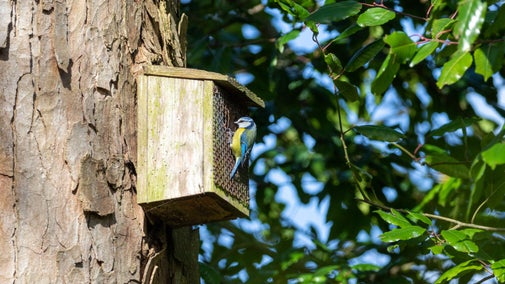
Looking for new ways to help your local wildlife? Here are some of our top tips on how to make your garden a haven for animals, birds and insects.
